
Styles pane overview
The styles gallery section of the home ribbon (Figure 1) and the styles pane (Figure 2) are quite useful for organizing the different formatting styles that are reused throughout a document. They allow you to store formatting for text and apply it to other text in the document. Both of them share the same right click options, but the styles pane provides a few extra dialog box options with the buttons at the bottom of the pane. Thus, unless these buttons are referenced, the term "styles pane" will be used to refer to both the pane itself and the gallery section in the home ribbon. The most relevant use of the styles pane for accessibility is for managing headings, but the following techniques can also be used more generally.
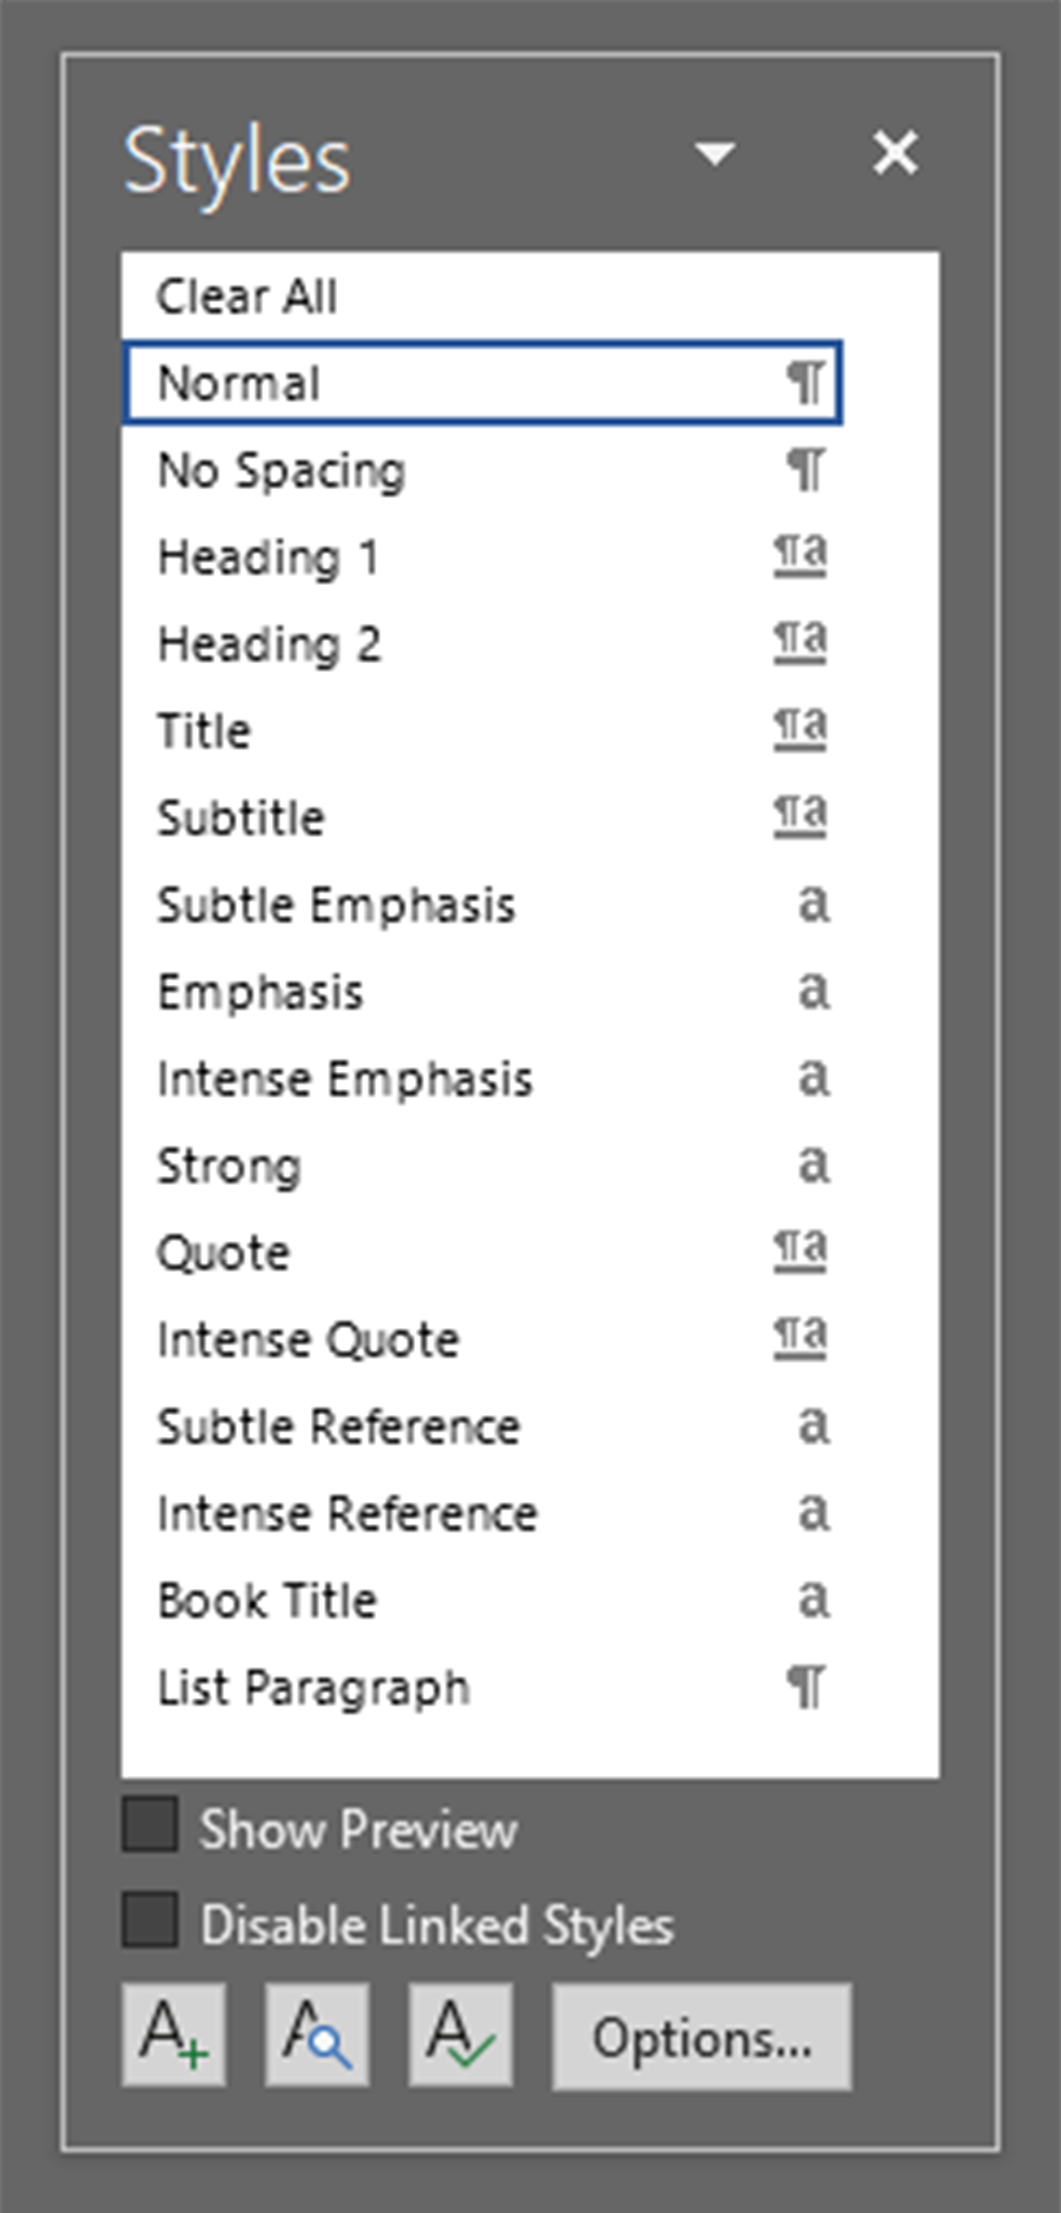
Fig. 1

Fig. 2
Formatting headings
If you want to use the default heading styles, then all you have to do to apply them is highlight the text you'd like to apply the style to and click on the style in the styles pane. Often, however, the preferred heading formatting differs from the default styles. In this case, apply your preferred formatting, select the text you just formatted, and right click on the corresponding heading level style and choose "Update Style to Match Selection", where Style is replaced with the name of the selected style (Figure 3). Your style can now be used to apply this style across your document. Keep in mind that if other parts of the document are using this style before modifying it, their formatting will be updated at the same time as the style.
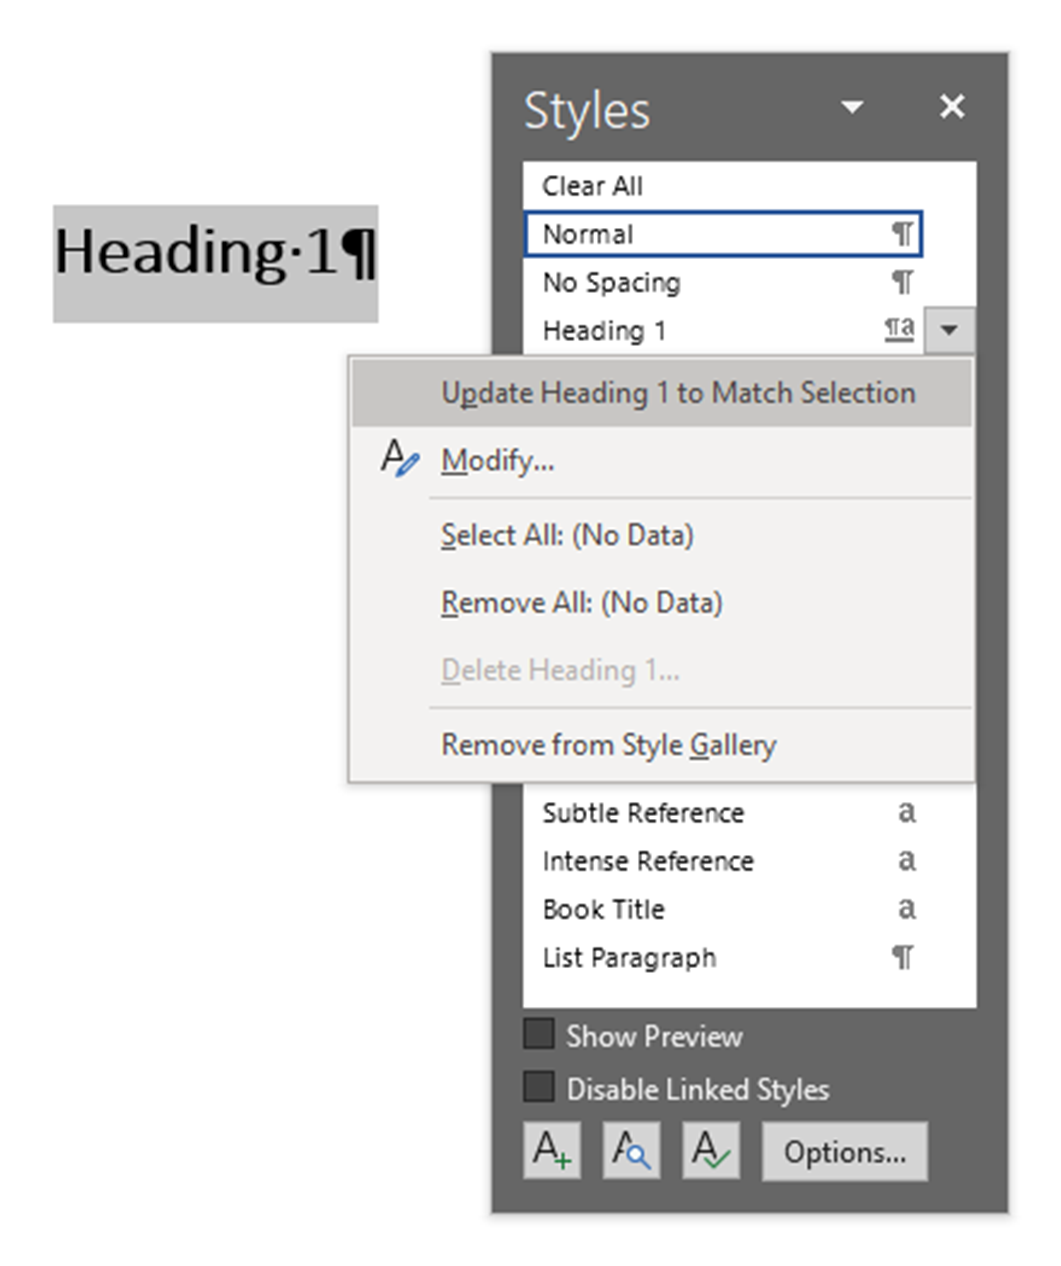
Fig. 3
Multiple heading styles
If you need more than one style for the same heading level, you can duplicate the existing heading style and modify the new one. Open the styles pane and click the New Style button at the bottom of the pane. In the dialog box, change the name to something descriptive like "Heading 2 alt", and ensure that the "Style based on" field is the heading level you'd like to add. You can then modify the formatting within the dialog box or just choose OK and then update the style to match a selection like described above. (Figure 4)

Fig. 4